Tasks
My Tasks
The My Tasks page lists all tasks assigned to the current user with a status of Waiting or In Progress. It is accessible from the sidebar (list icon) and requires no additional permissions.
The page header shows the total task count. The toolbar provides:
Show live stream — opens the live event panel (see Live stream).
Auto-refresh toggle — pauses or resumes automatic data refresh.
Filters (slider icon) — opens the filter bar.
Per page selector — controls how many rows appear per page (default 15).
Tasks are sorted with flagged tasks first, then by start date descending.
Table columns
Column |
Contents |
|---|---|
Severity |
Case severity badge. Below it: a status icon (pause = Waiting, hourglass = In Progress), a flag icon (orange if the task is flagged), and a user icon (coloured if assigned, grey if not). |
Group |
Task group name. |
Task |
Task title, linking directly to the task detail view. Below the title: the time since the task was started (if a start date is set) and a case badge with the case number and title, linking to the case. |
Date |
Task creation date. |
Waiting Tasks
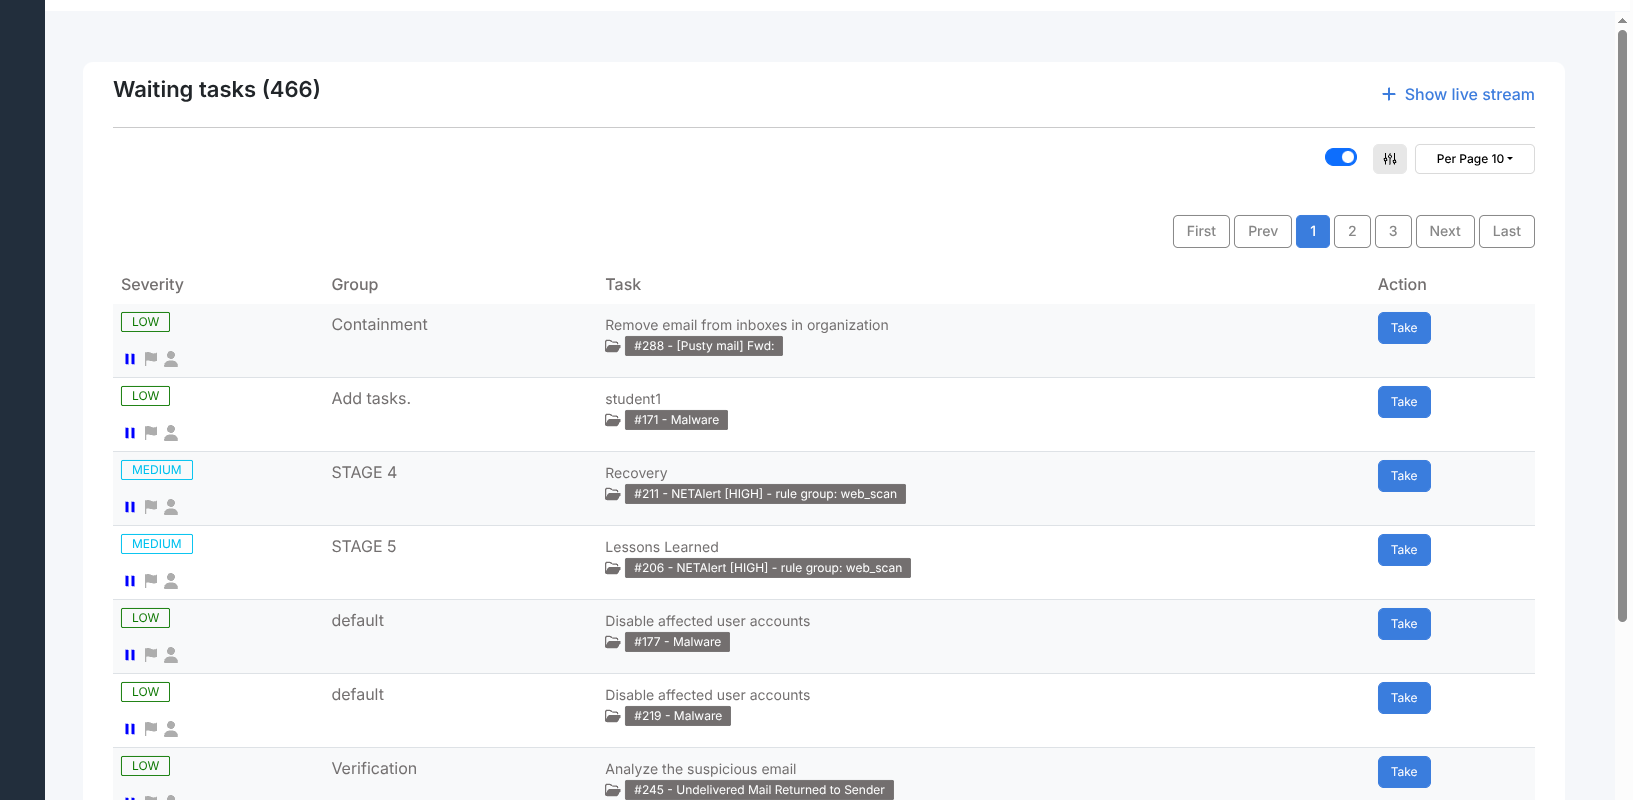
The Waiting Tasks page lists all unassigned tasks with status Waiting across the organisation. Analysts use it to pick up work that has not yet been claimed by anyone.
The toolbar is the same as on My Tasks. The table columns are identical to My Tasks, except that the Date column is replaced by an Action column containing a Take button.
Clicking Take assigns the task to the current user, sets its status to In Progress, and opens the task detail view.
Task detail view
Click any task title to open its detail page. The page is divided into several sections.
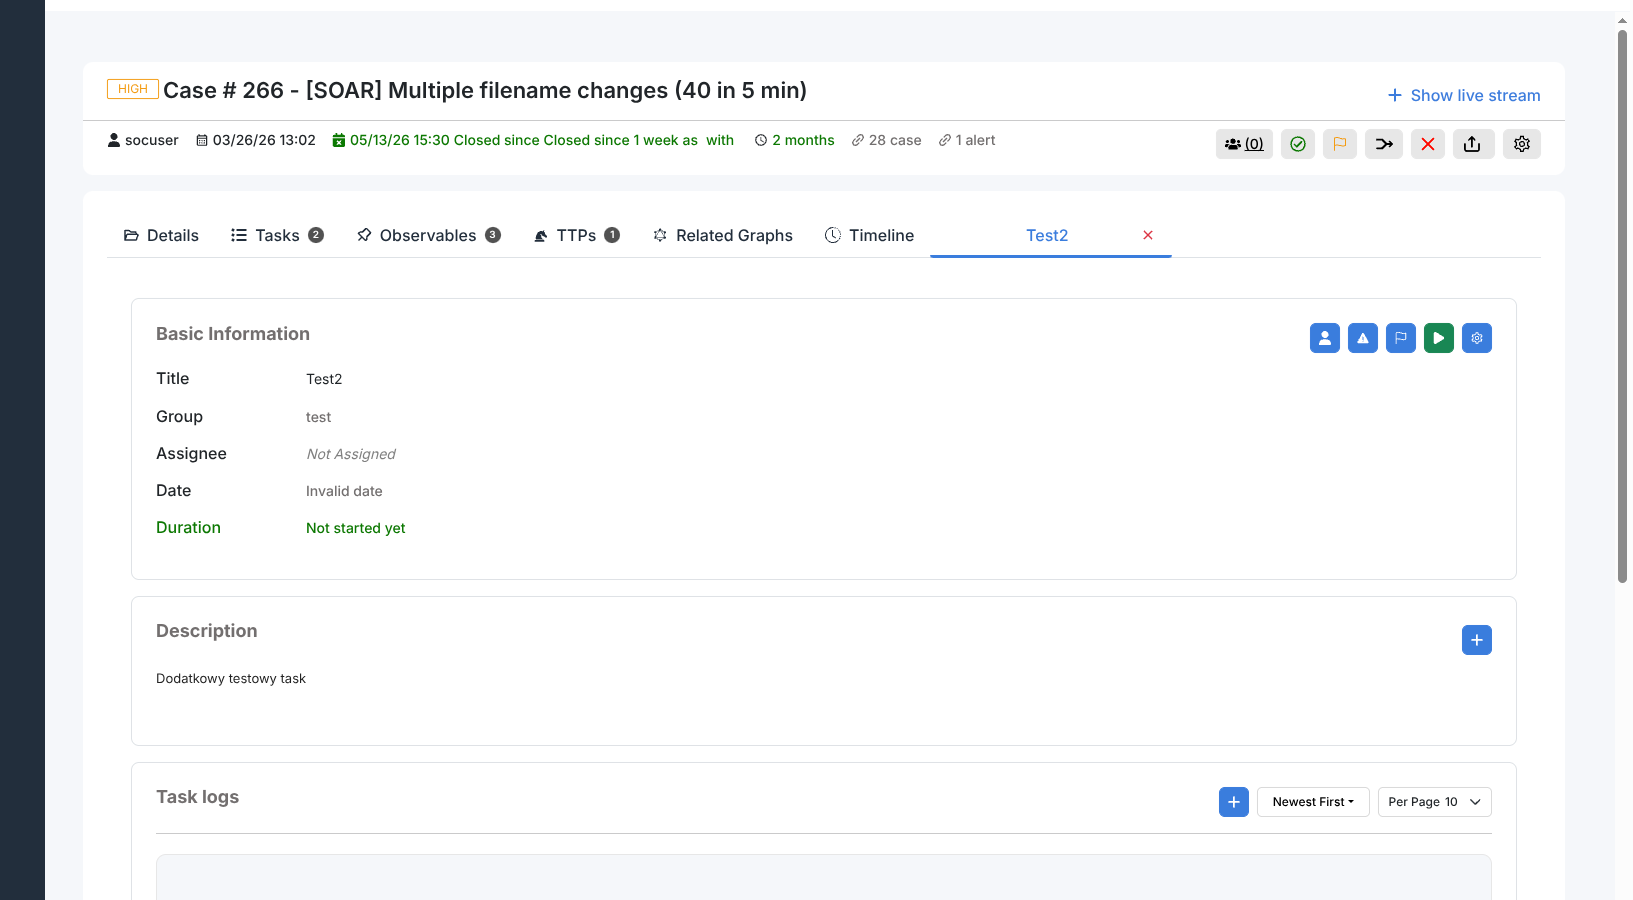
Basic information
Shows the editable task metadata: Title, Group, Assignee, Start Date, End Date (calculated), and Duration (time elapsed since start).
Status controls:
Start — moves the task from Waiting to In Progress.
Close — marks the task Completed. If a task log is required, the platform prompts you to add one before proceeding.
Reopen — returns a completed task to In Progress.
A flag icon marks the task as urgent. The Run Responder button opens the responder selector for the task object.
Description
A markdown-formatted free-text field. Click the pencil icon or the content area to edit. Confirm with the green tick or cancel with the red X.
Task logs
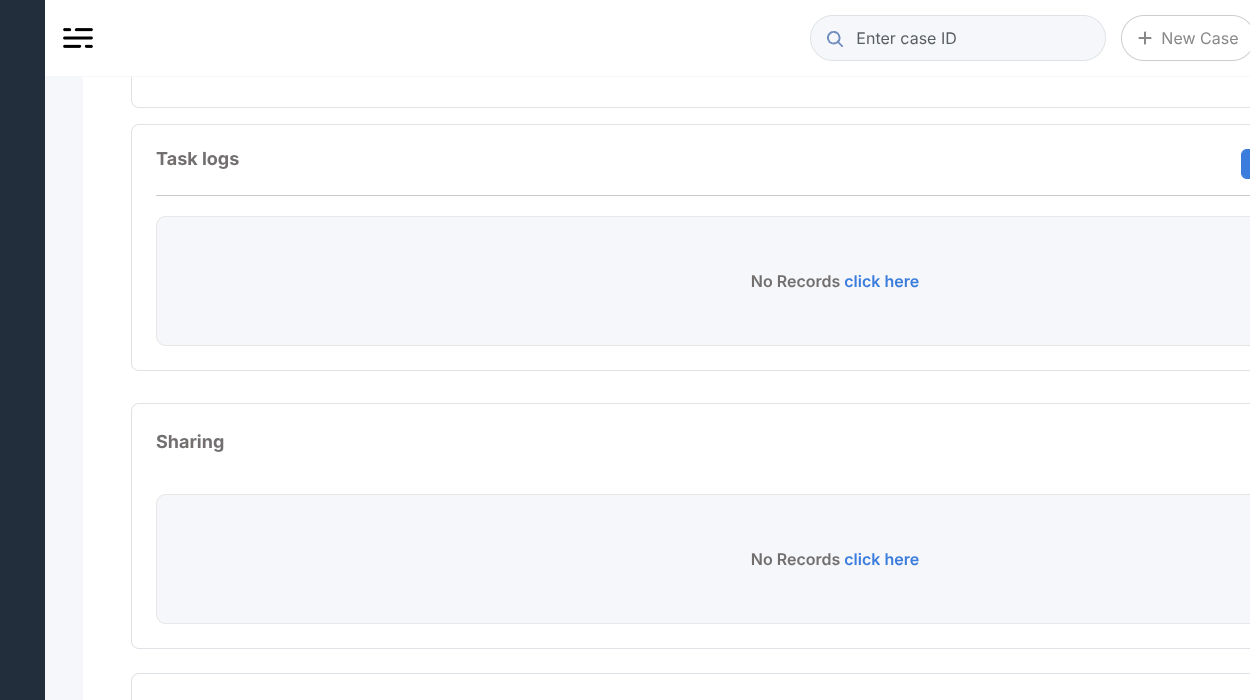
The Task logs section records the work done on the task. Each log entry shows the author (initials and username), a relative timestamp, and the log content rendered as markdown. Entries are paginated with configurable page size (10 / 15 / 30 / 100).
Adding a log entry
Click + (requires manageTask permission). A panel opens with a rich text
editor supporting markdown. Write the entry and save. The log is prepended to
the list when sorted newest first.
Editing and deleting entries
Each entry has an edit (pencil) icon and a delete (bin) icon. Editing reopens the text editor with the existing content. Deleting prompts for confirmation; the action cannot be undone.
Responders on log entries
Each log entry also has a Run Responder action that executes a responder against that specific log entry as the target object.
Responder Jobs
A table showing all responder executions triggered for this task. Columns: Status, Name, Automation Server, Date, User, and Actions. The Show Error / Hide Error toggle reveals the error message for failed responder runs.
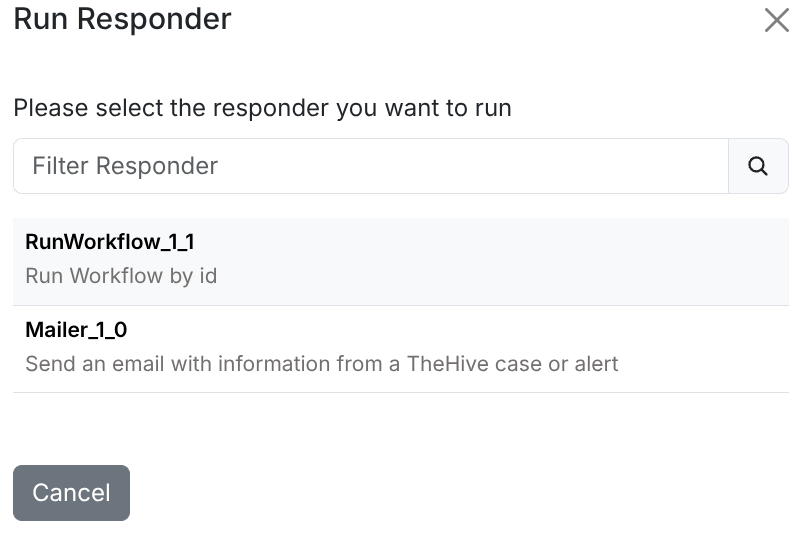
Running a workflow from a task
The RunWorkflow responder starts an Energy SOAR workflow from a task. You link the workflow to the task by its ID, then run the responder.
Publish the workflow — a workflow must be published before it can be triggered. Use the Publish button in the workflow editor.
Find the workflow ID — read it from the workflow settings title or the editor URL, for example
G04rW2wMfAs31Zyb.Reference the ID in the task description — edit the task Description and add the ID on its own line, using the syntax:
workflow.id:G04rW2wMfAs31Zyb

Run the responder — click Run Responder next to the task and select RunWorkflow. The responder reads the workflow ID from the description and triggers that workflow.
The run appears in the task Responder Jobs table and in the workflow
execution history. The same pattern works on a case or an alert: add the
workflow.id line to the case or alert description and run the
RunWorkflow responder there. See
RunWorkflow.